Monday, February 28, 2011

starburst mirror accent

   I have always admired the look of a 'starburst' mirror but never thought I could make one myself.  Well today the weather was nice and I decided to take on the challenge.  Here are the supplies I used to make my version of the starburst mirror for a fraction of the cost! (various mirror sizes found at Michaels, hot glue sticks and gun, & kabob skewers)

   Before anything, I spray painted the skewers.  I went with a solid black and then went back over them in a gold 'webbing' spray to add a touch of antique-ness :) however you can choose any color.  I think a silver would look excellent if your space is more modernized.  

   Once my skewers were painted and dried, I hot glued the skewers to the back of the big mirror

   This is what the mirror looked like after all the skewers were hot glued on the back at different lengths

   Time to add the mirrors.  I found all the mirror pieces at Michaels, and I spent under $10 on all of them

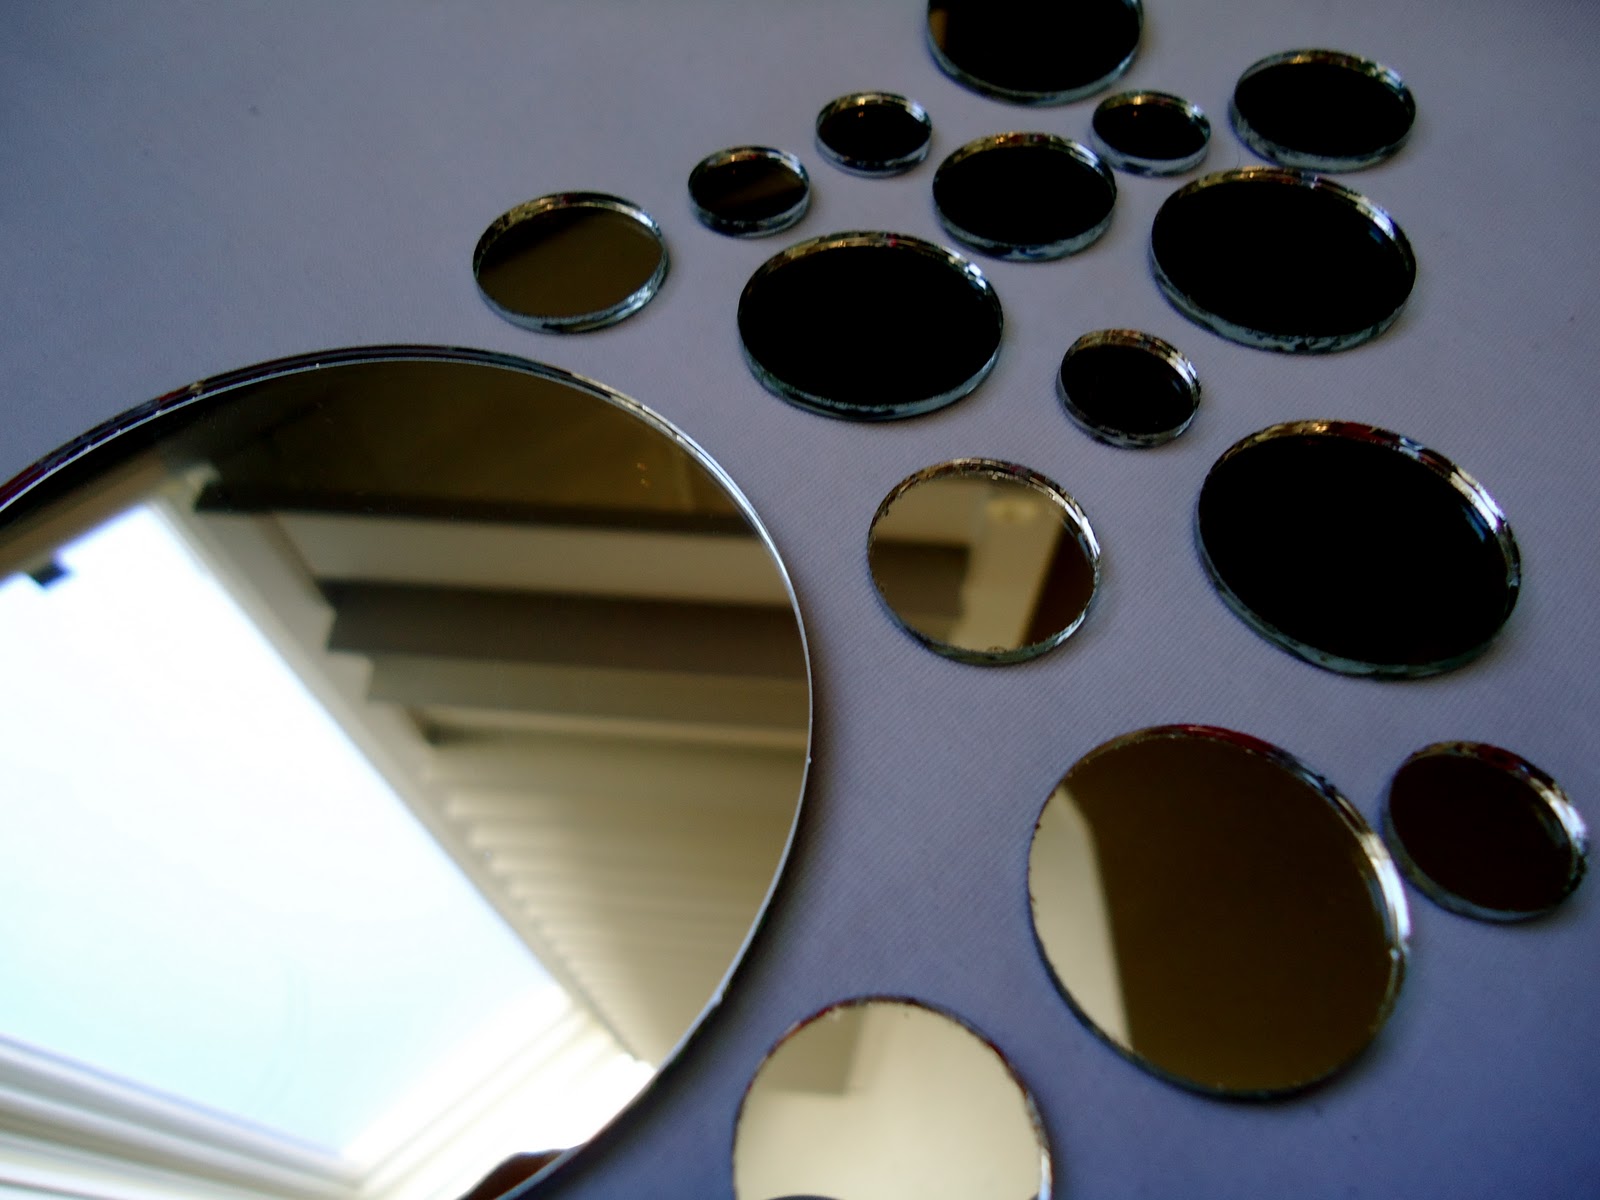
   Applying the mirrors to the skewers was super easy.  I started with the biggest ones and placed them randomly and worked my way to the tiniest mirrors to fill in spaces.  Here is how my starburst mirror turned out and the final price was $12! 


I'm really excited about my accomplishment!  
I'm thinking this will make a great accent in my bathroom :)

here's to sunshine,
E

a little taste of spring

    With snow on the ground it's quite difficult to get prepared for spring, but a little craft project never hurts :) This is a project I did a while ago but recently re-vamped to make it fit in my new studio.  I bought canvases and paint at Michael's and with some tape to help me make straight lines, I created this first...

   After painting the base on the canvases, I added flowers of course (which you'll find I'm a sucker for, especially when they are delivered by my boyfriend ;))!  I chose 'chinese lanterns' to match the shade of orange and set it off with some off white pseudo daisies.  I hot-glued the flowers to the canvases in no particular order


   And this is the final project!  I haven't decided where to hang it yet, which can be one of the biggest challenges for me.  This was such a simple project and can be easily redesigned to fit your own personal space!


 Happy hot-gluing :),
E

Wednesday, February 23, 2011

First Official Pictures

This is a view from my front door.  I'm a little in love with the exposed brick.


And here is my kitchen, very much in the "before" stages!


Stay tuned!  I'm starting some of my DIY projects this weekend :)